


Micro-needling, also known as collagen induction therapy, has emerged as a popular and effective solution for achieving radiant, youthful skin. This minimally invasive cosmetic procedure involves the use of fine needles to create tiny, controlled puncture wounds on the skin’s surface. These micro-injuries trigger the body’s natural healing processes, stimulating collagen and elastin production, which are essential for smooth, firm, and vibrant skin.
In this detailed guide, we’ll explore everything you need to know about micro-needling, including its benefits, a step-by-step guide to the procedure, post-treatment care, and expert tips for maximizing your results.
The Benefits of Micro-Needling

Micro-needling offers a myriad of benefits, making it a go-to treatment for various skin concerns. Here are some of the key advantages:
- Reduction of Fine Lines and Wrinkles: By stimulating collagen production, micro-needling helps to smooth out fine lines and wrinkles, giving the skin a more youthful appearance.
- Improvement in Skin Texture and Tone: The procedure promotes even skin texture and tone, reducing roughness and improving overall skin quality.
- Diminished Appearance of Acne Scars: Micro-needling is highly effective in reducing the visibility of acne scars, as well as scars from injuries or surgeries.
- Minimized Pore Size: The treatment helps to reduce the size of enlarged pores, resulting in a smoother complexion.
- Enhanced Absorption of Skincare Products: Micro-needling creates micro-channels in the skin, allowing for better absorption and effectiveness of topical skincare products.
Step-by-Step Guide to Micro-Needling
Step 1: Consultation with a Dermatologist
Before embarking on your micro-needling journey, it’s crucial to consult with a qualified dermatologist or licensed skincare professional. During this consultation, your practitioner will assess your skin type, concerns, and medical history to determine if you are a suitable candidate for the procedure. They will also discuss your goals and set realistic expectations for the outcomes.
Step 2: Pre-Treatment Preparation
Proper preparation is essential for achieving the best results from micro-needling. Here are some important pre-treatment steps:
- Avoid Sun Exposure: Minimize sun exposure and avoid tanning beds for at least a week before your treatment to prevent skin irritation and sensitivity.
- Discontinue Certain Products: Stop using retinoids, alpha hydroxy acids (AHAs), beta hydroxy acids (BHAs), and other exfoliants 3-5 days prior to your session. These products can increase skin sensitivity and irritation.
- Stay Hydrated: Ensure your skin is well-hydrated by drinking plenty of water and using a good moisturizer in the days leading up to your appointment.
Step 3: Cleanse Your Skin
On the day of your micro-needling treatment, your practitioner will begin by thoroughly cleansing your skin to remove any dirt, oil, and makeup. This step ensures that your skin is clean and ready for the procedure.
Step 4: Apply Numbing Cream
To minimize discomfort during the procedure, a topical numbing cream is applied to the treatment area. This cream is usually left on for about 20-30 minutes, allowing it to take full effect before the micro-needling begins.
Step 5: Micro-Needling Procedure
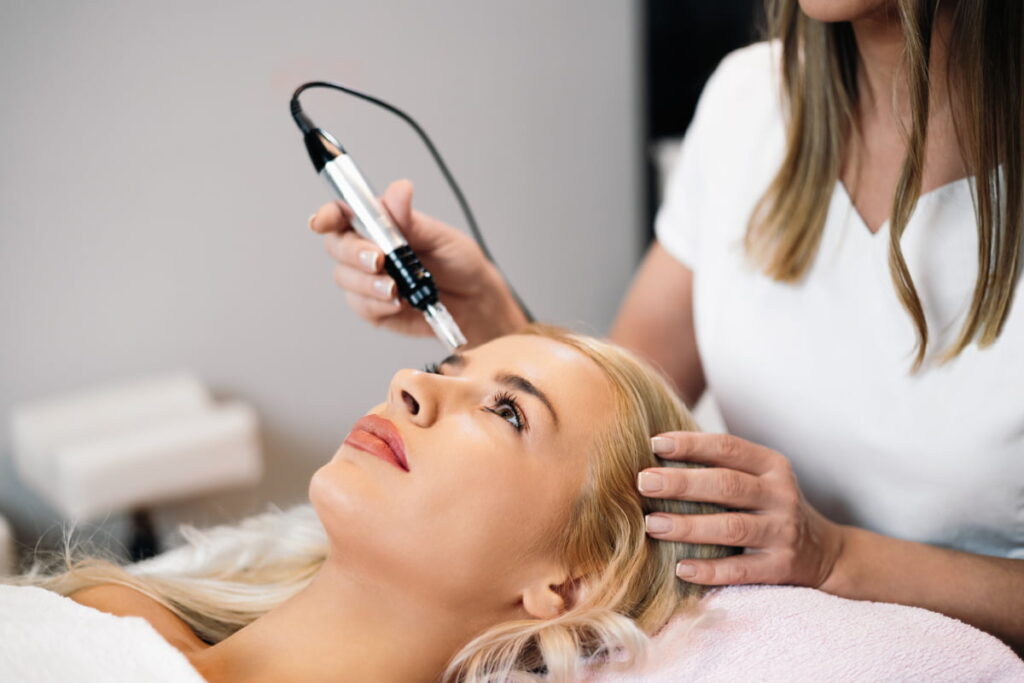
- Device Preparation: Your practitioner will use a sterile micro-needling device, which can be a derma roller or a derma pen. The device’s needle depth and speed are adjusted based on your skin’s specific needs and the area being treated.
- Treatment Process: The device is gently rolled or stamped across the skin, creating controlled micro-injuries. The procedure typically takes 15-30 minutes, depending on the size of the treatment area. During this time, you may feel a slight prickling sensation, but the numbing cream helps to reduce discomfort.
Step 6: Post-Treatment Care
Proper post-treatment care is crucial for achieving optimal results and ensuring your skin heals effectively. Here are some essential post-treatment steps:
- Apply a Soothing Serum: Immediately after the procedure, a hydrating serum or a growth factor serum is applied to the treated area. These serums help to soothe the skin, reduce inflammation, and enhance the healing process.
- Avoid Sun Exposure: Protect your skin from direct sunlight and use a broad-spectrum sunscreen with at least SPF 30. Sun exposure can cause hyperpigmentation and irritation on freshly treated skin.
- Stay Hydrated: Continue to drink plenty of water and use a gentle, hydrating moisturizer to keep your skin hydrated as it heals.
Detailed Post-Treatment Tips
- Avoid Makeup: Refrain from using makeup for at least 24 hours after the procedure to prevent irritation and allow your skin to breathe.
- No Harsh Products: Avoid using retinoids, AHAs, BHAs, and other harsh skincare products for about a week to prevent irritation and sensitivity.
- Minimal Touching: Keep your hands off your face to prevent infection and allow your skin to heal properly.
- Gentle Cleansing: Use a mild cleanser to wash your face, avoiding hot water and harsh scrubbing. Pat your skin dry gently with a clean towel.
Frequency of Micro-Needling Sessions
The number of micro-needling sessions required varies depending on your skin condition and desired results. Typically, a series of 3-6 treatments spaced 4-6 weeks apart is recommended for optimal results. Your dermatologist will create a personalized treatment plan tailored to your specific needs and goals.
Potential Side Effects
While micro-needling is generally safe, some side effects may occur. These side effects are usually mild and temporary, including:
- Redness and Swelling: These are common and usually subside within a few hours to a couple of days.
- Minor Bleeding: Some pinpoint bleeding may occur during the procedure, but it is typically minimal.
- Dryness and Peeling: Your skin may feel dry and peel slightly as it heals, which is a normal part of the regeneration process.
Conclusion
Micro-needling is an effective and versatile treatment for rejuvenating your skin, offering numerous benefits with minimal downtime. By following this comprehensive step-by-step guide and adhering to pre- and post-treatment care instructions, you can achieve smoother, firmer, and more youthful skin.
Always seek treatment from a qualified professional and follow their advice to ensure the best possible results. Embrace the journey to renewed skin with confidence, and enjoy the radiant, glowing results that micro-needling can provide.